Edit Your Map
As collaborators on a Map, you have access to tools to help your team onboard to the codebase, understand team ownership, learn key flows, and more.
Select Many
Select many will be your best friend. To select many files at once, press and hold a blank area of the canvas and then drag to select many files. Alternatively, you can shift + click a blank area of the canvas. A hot pink select area should show up allowing you to select many files at once.
Toolbar

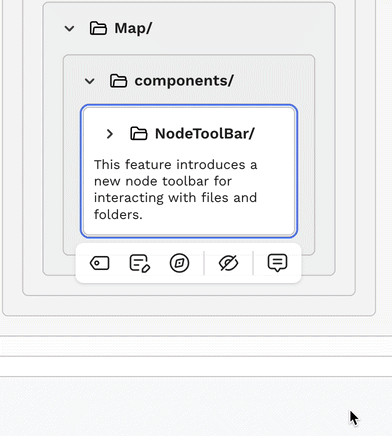
Select a node to get the following options:
Add or remove a label
The left-most icon in the toolbar allows you to:
- Assign or clear a label (color) from the current file or folder
- Add a new label
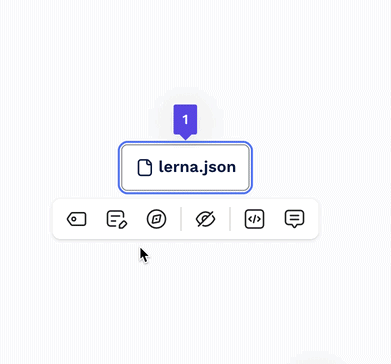
Write a note
The second icon in the toolbar enables you to add or remove text from the current file or folder.
Toggle visibility
Use this icon to control the visibility of related files and folders.
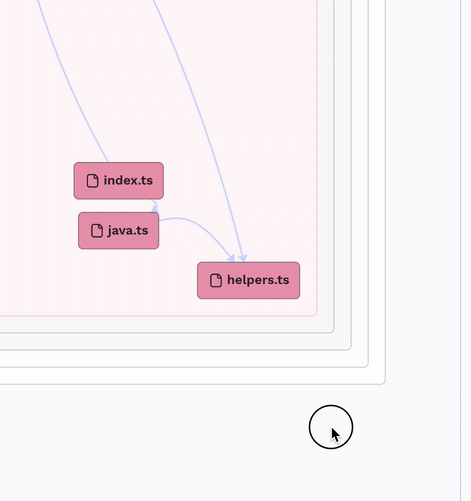
- Show connected files. This will show all files that are linked with the current file or folder.
- Hide selected items. This will hide the items you've selected from the Map.
- Hide everything else. This will hide all items that are not selected.
- Hide everything else in this folder. This will hide all items in the current folder, except the selected item.
View code
Click this icon to view the source code for the current file.
Leave a comment
This will allow you to leave or reply to comments on specific files or folders.
Real-time Collaboration
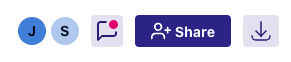
Codebase Maps allow multiple users to make changes to a Map at the same time. Users actively collaborating in the Map are represented with avatars containing their initial and a cursor that follows their activity on the Map.
Modes
Maps have three Modes: Edit, View, and Playground.
| Mode | How it works | Real-time collaboration | What Map-Permission is required |
|---|---|---|---|
| View | Read only: You can view the map, but you cannot make any edits | Yes. You will see cursors of other users on the same map | Any |
| Edit | Read/Write: You can make any edits. | Yes. All edits are immediately saved and shared. | Write |
| Playground | Think of this like a sandbox. You can make edits, freely experiment, but nothing is saved. | No. This is a one-player only mode, and no changes are saved. | Any |
Tours
Tours are a way to create asynchronous, visual walkthroughs on a Map. Tours can be used for anything that comes to mind, showing where features are, tricky execution flows through files, helping to debug, and more.
Create Tours
- Click on a file or folder in your map
- Click the Tour button in the toolbar that pops up (it's the icon of a "compass")
- Click "Create a tour"
- Enter a description for your first tour step, then click "Save"
- Go back to Step 4 and create as many Tour steps as you'd like!
View Tours
Tours will automatically display in the left sidebar of your Map interface.
To navigate between multiple Tours, use the dropdown in the Tours tab.
Additional Tour Options
Click on the overflow button (•••) in the Tours tab to:
- Add a new Tour
- Rename a Tour
- Delete a Tour
Labels and Colors
The legend is a panel in the upper-right corner of the Map. Here you can choose colors and labels that you can apply to files or folders in your Map.
To add a new Label to the legend:
- Click “Add a new label.”
- Click on the placeholder text “New Label” to edit the text for the label at any time.
- Click the colored tile on the left to select a color for files and folders with that Label.
- You can use labels to designate and color-code team ownership, indicate different codebase features, mark hotspots or tech debt, or whatever would be useful to you.
To assign colors to files or folders:
- Click on a node and then click the Add a Label and select a color to add a label to a file or folder.
Notes
Use the Notes tool to add additional context to any file and folder.
- Click on a node and then click the Write a Note button to add notes.
Notes on folders are available only when the folder is collapsed.
Comments
Users with "write" access can participate in a real-time chat experience on any file or folder in your Codebase Map.
You can select a file and click on the Comments button to leave a comment.
Select a node then click the chat bubble to start a conversation.
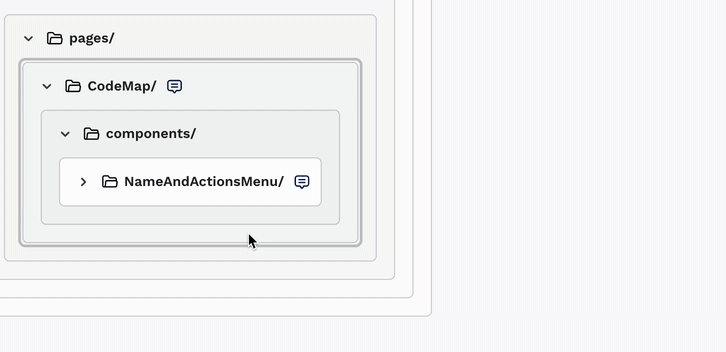
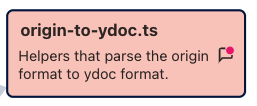
If there is an existing conversation on a node, you will see the chat icon inside the node along the right edge.

The chat icon indicates that this file has an existing conversation
You can select a file and click on the Comments button to view the existing chat.
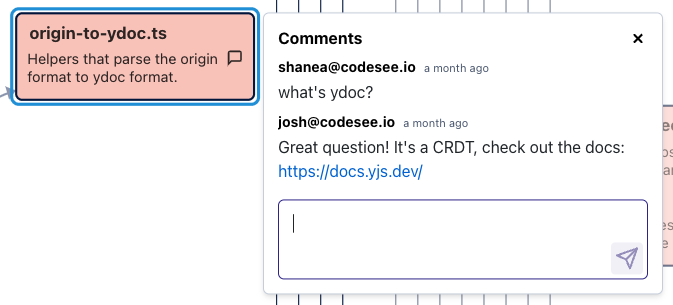
Chat between two users about this file in the map
When there are comments anywhere in a map, a chat icon will appear in the upper-right corner of the header. You can also click that chat icon to see all existing comment threads. Click a thread to jump to the file or folder where the conversation is taking place.
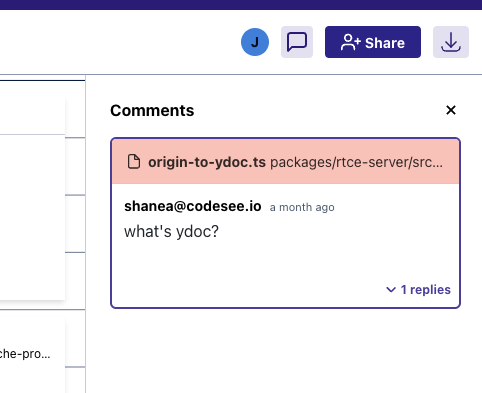
Viewing comments in the comment side-panel
When there are unread comments either on a specific node or anywhere in the map, the appropriate chat icon will have a red dot.
Duplicate a Map
To create a copy of a Map, click on the overflow button (•••), then select “Duplicate.”
Updated about 1 year ago