Function Maps Getting Started Guide
Function Maps is an Enterprise feature (with a free trial)
What is this all about?
Have you ever tried to navigate and make sense of code in your editor only to find yourself jumping between a bunch of tabs, and losing track of: where did I see that code? how is this all connected?
CodeSee Maps in VS Code is a local extension that gives you an infinite canvas where you can organize your code however you want, and easily jump from function to method to type to definition to reference!
How to Install
Install the extension by searching for “CodeSee Function Maps” within VS Code's marketplace, or downloading it from the marketplace.
Note: There is a different extension called "CodeSee Review Maps". Be careful to install “Function” maps for this extension.
How to use CodeSee Function Maps
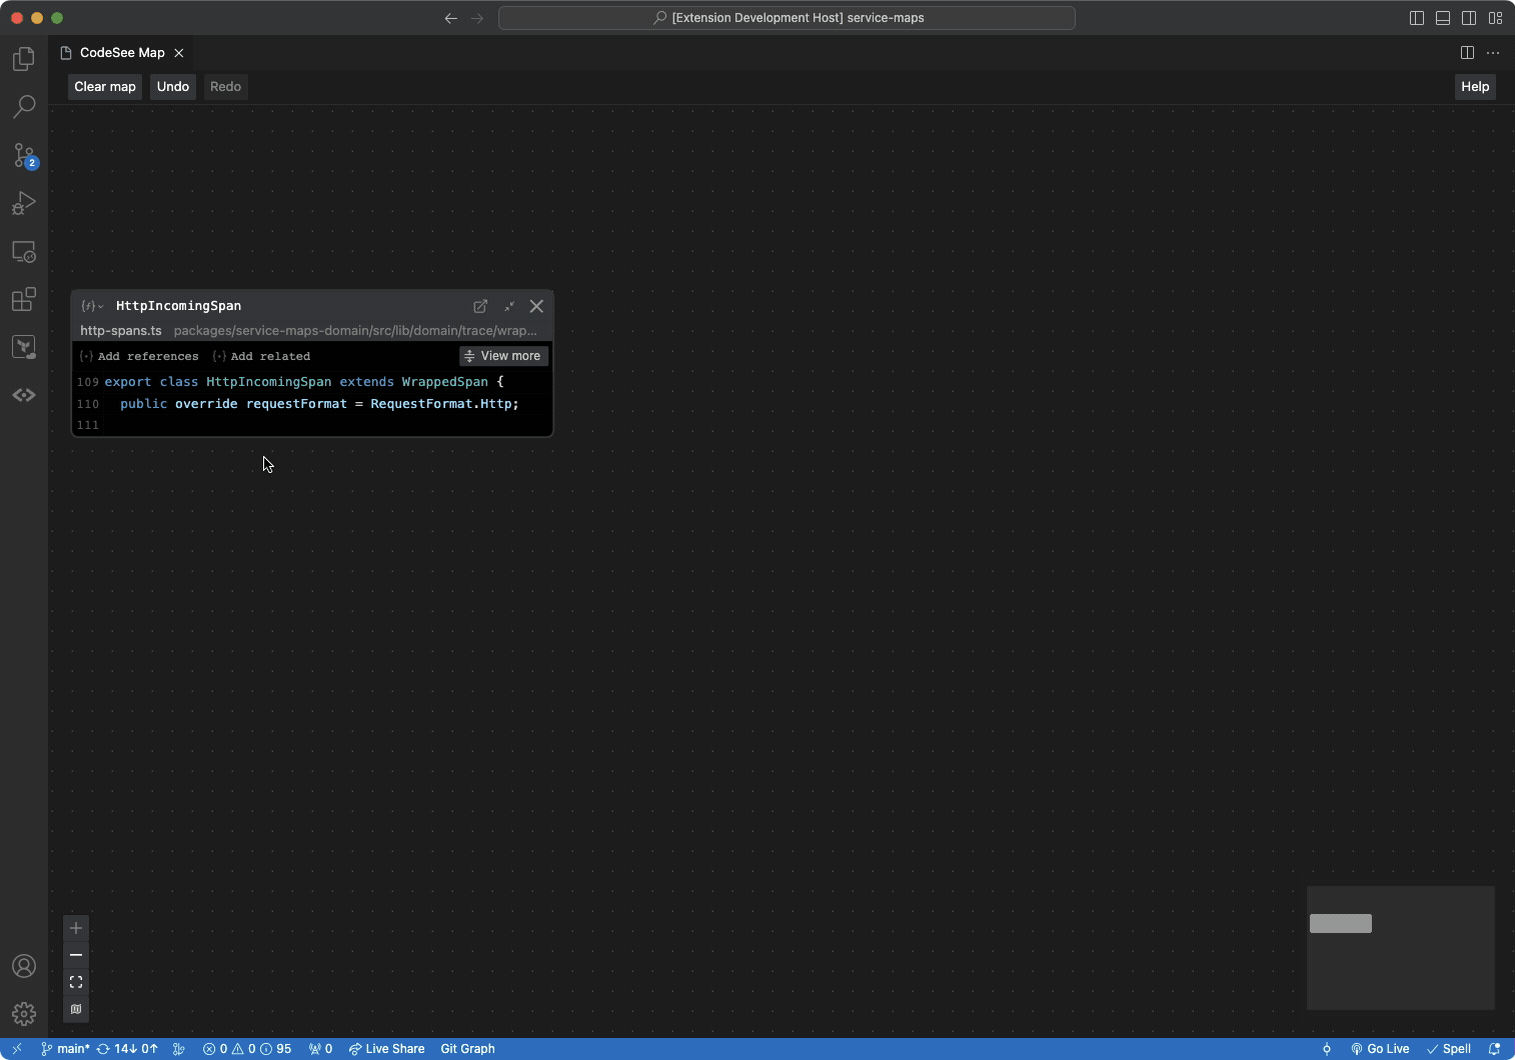
From your editor: “Add definition to CodeSee Map”
When you would normally use the “Go to definition” command (F12), do this instead:
- From any editor window, select the function or type you want to “Go to definition”
- Type
Ctrl + F12(or selectAdd definition to CodeSee Mapfrom the right-click menu), and both the function and its definition will be added to the map.
If your map is empty, your code will be added straight to the map.
If your map has some code on it already, your code is added to the right-hand-side drawer. Drag from the drawer onto the map to position your code.

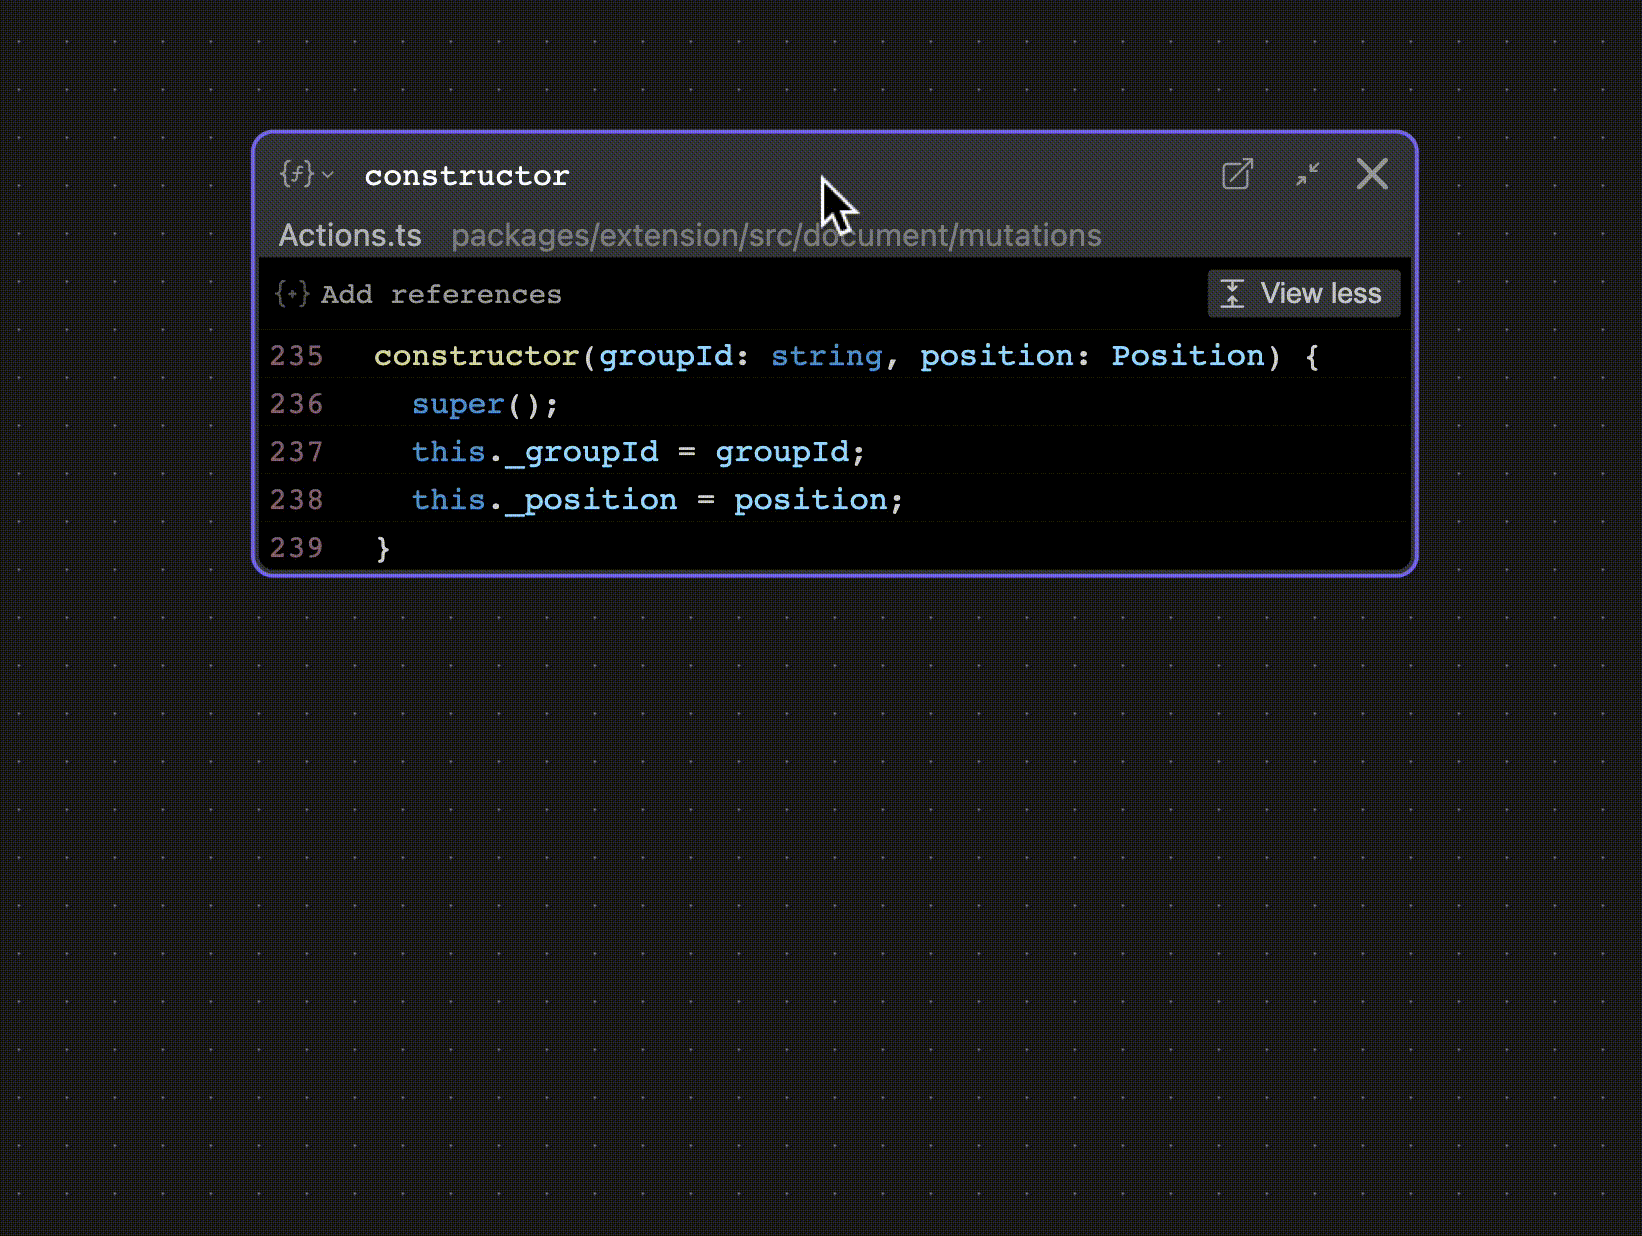
From your Editor: Add a function or type to the Map
- From any editor window, find a function or type you want to add to the map, and place your cursor anywhere within that function/type.
- Either (A) Right-click and select "Add to CodeSee Map..." or (B) use the "add to map" quick key:
ctrl+mon Mac,alt-mon Windows.
If your map is empty, your code will be added straight to the map.
If your map has some code on it, your code is added to the right-hand-side drawer. Drag from the drawer onto the map to position your code.
Moving around the Map
To pan the map:
- drag with the middle-mouse-button down
- hold down
<spacebar>and dragging with the left-mouse-button - scroll the mouse wheel (moves vertically)
- pan with the trackpad
- drag inside the minimap
To zoom the map:
- Hold
<ctrl>while scrolling your mouse wheel - Pinch-to-zoom with a trackpad
- Use the
+/-buttons in the lower-left corner of the Map - Click the
[]button in the lower-left corner to reset the Map’s zoom to the default
To move a node:
- You can select any node of code and drag it around the Map by clicking and dragging on its header.
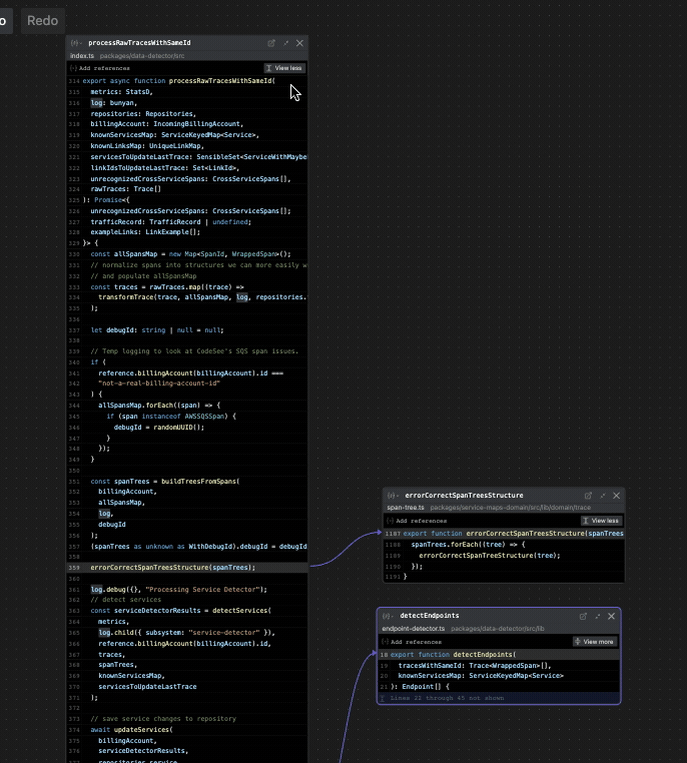
From the Map: Follow code with one click
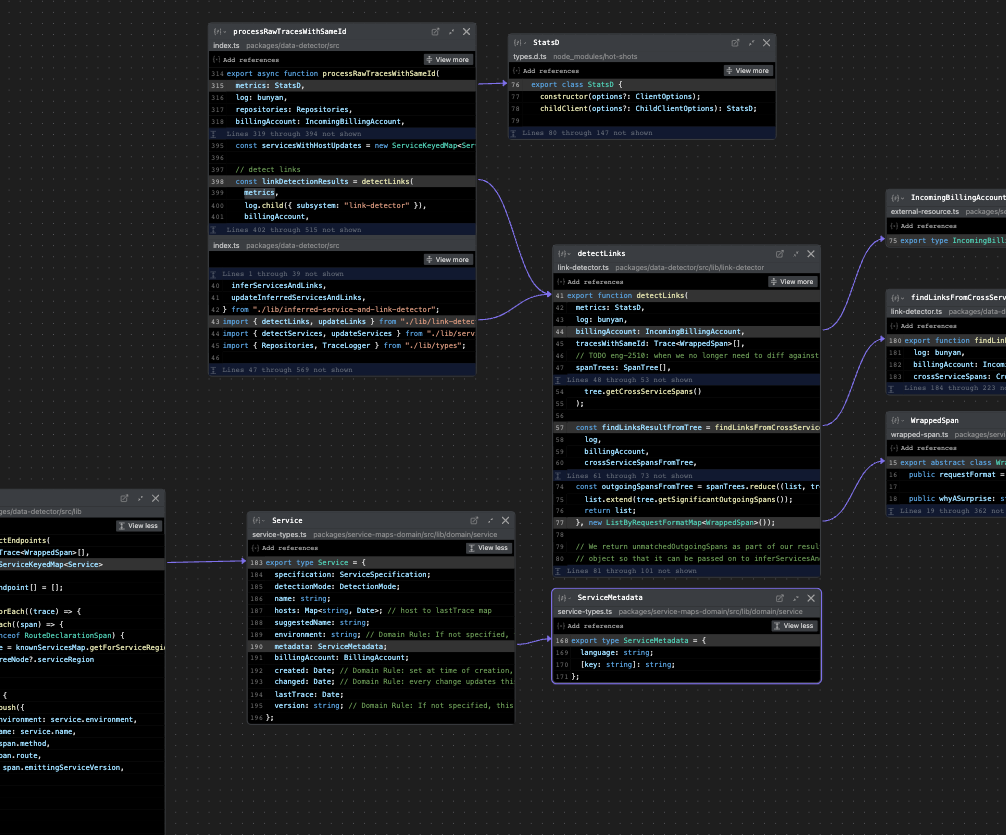
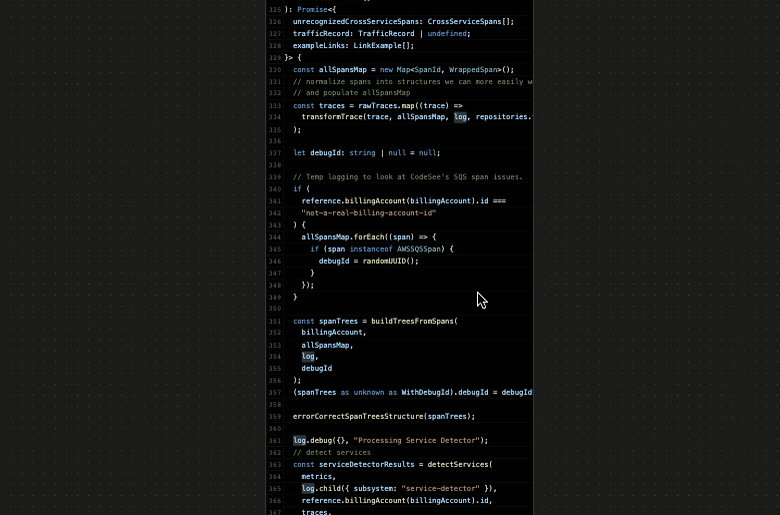
From the Map, many symbols in your code will be underlined. You can click any of them to add the related code to the map.
From the Map: Add code with "Add references"
From the Map, right-click anywhere within a node and choose “Add all references”.
Or, click on the text “Add references” near the top of the node.
From the Map: Add related code
( Note: currently only supported in Typescript )
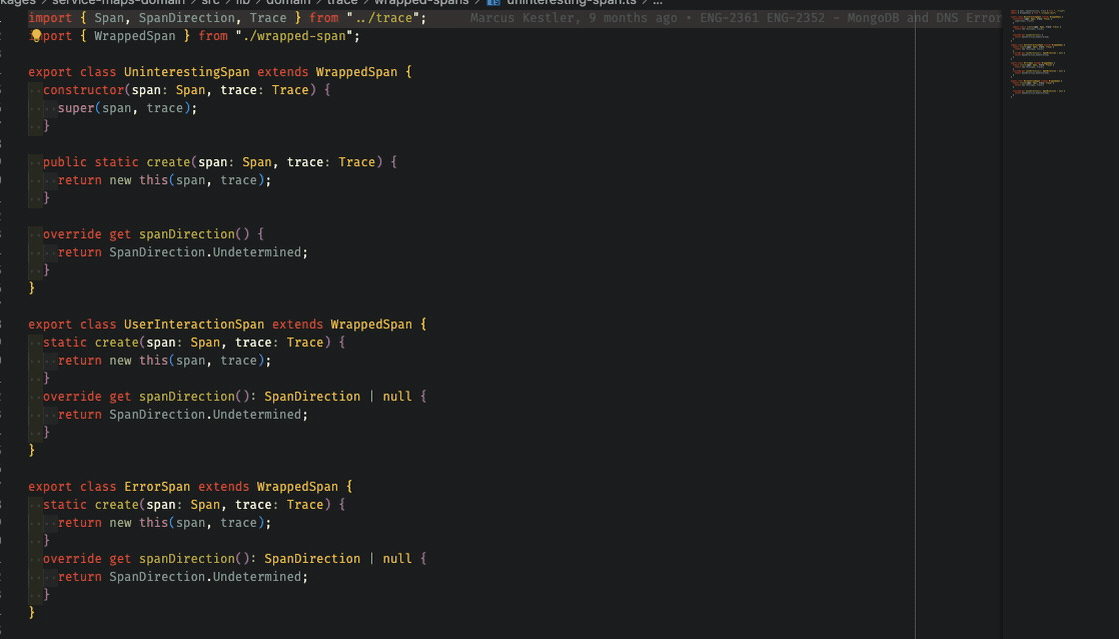
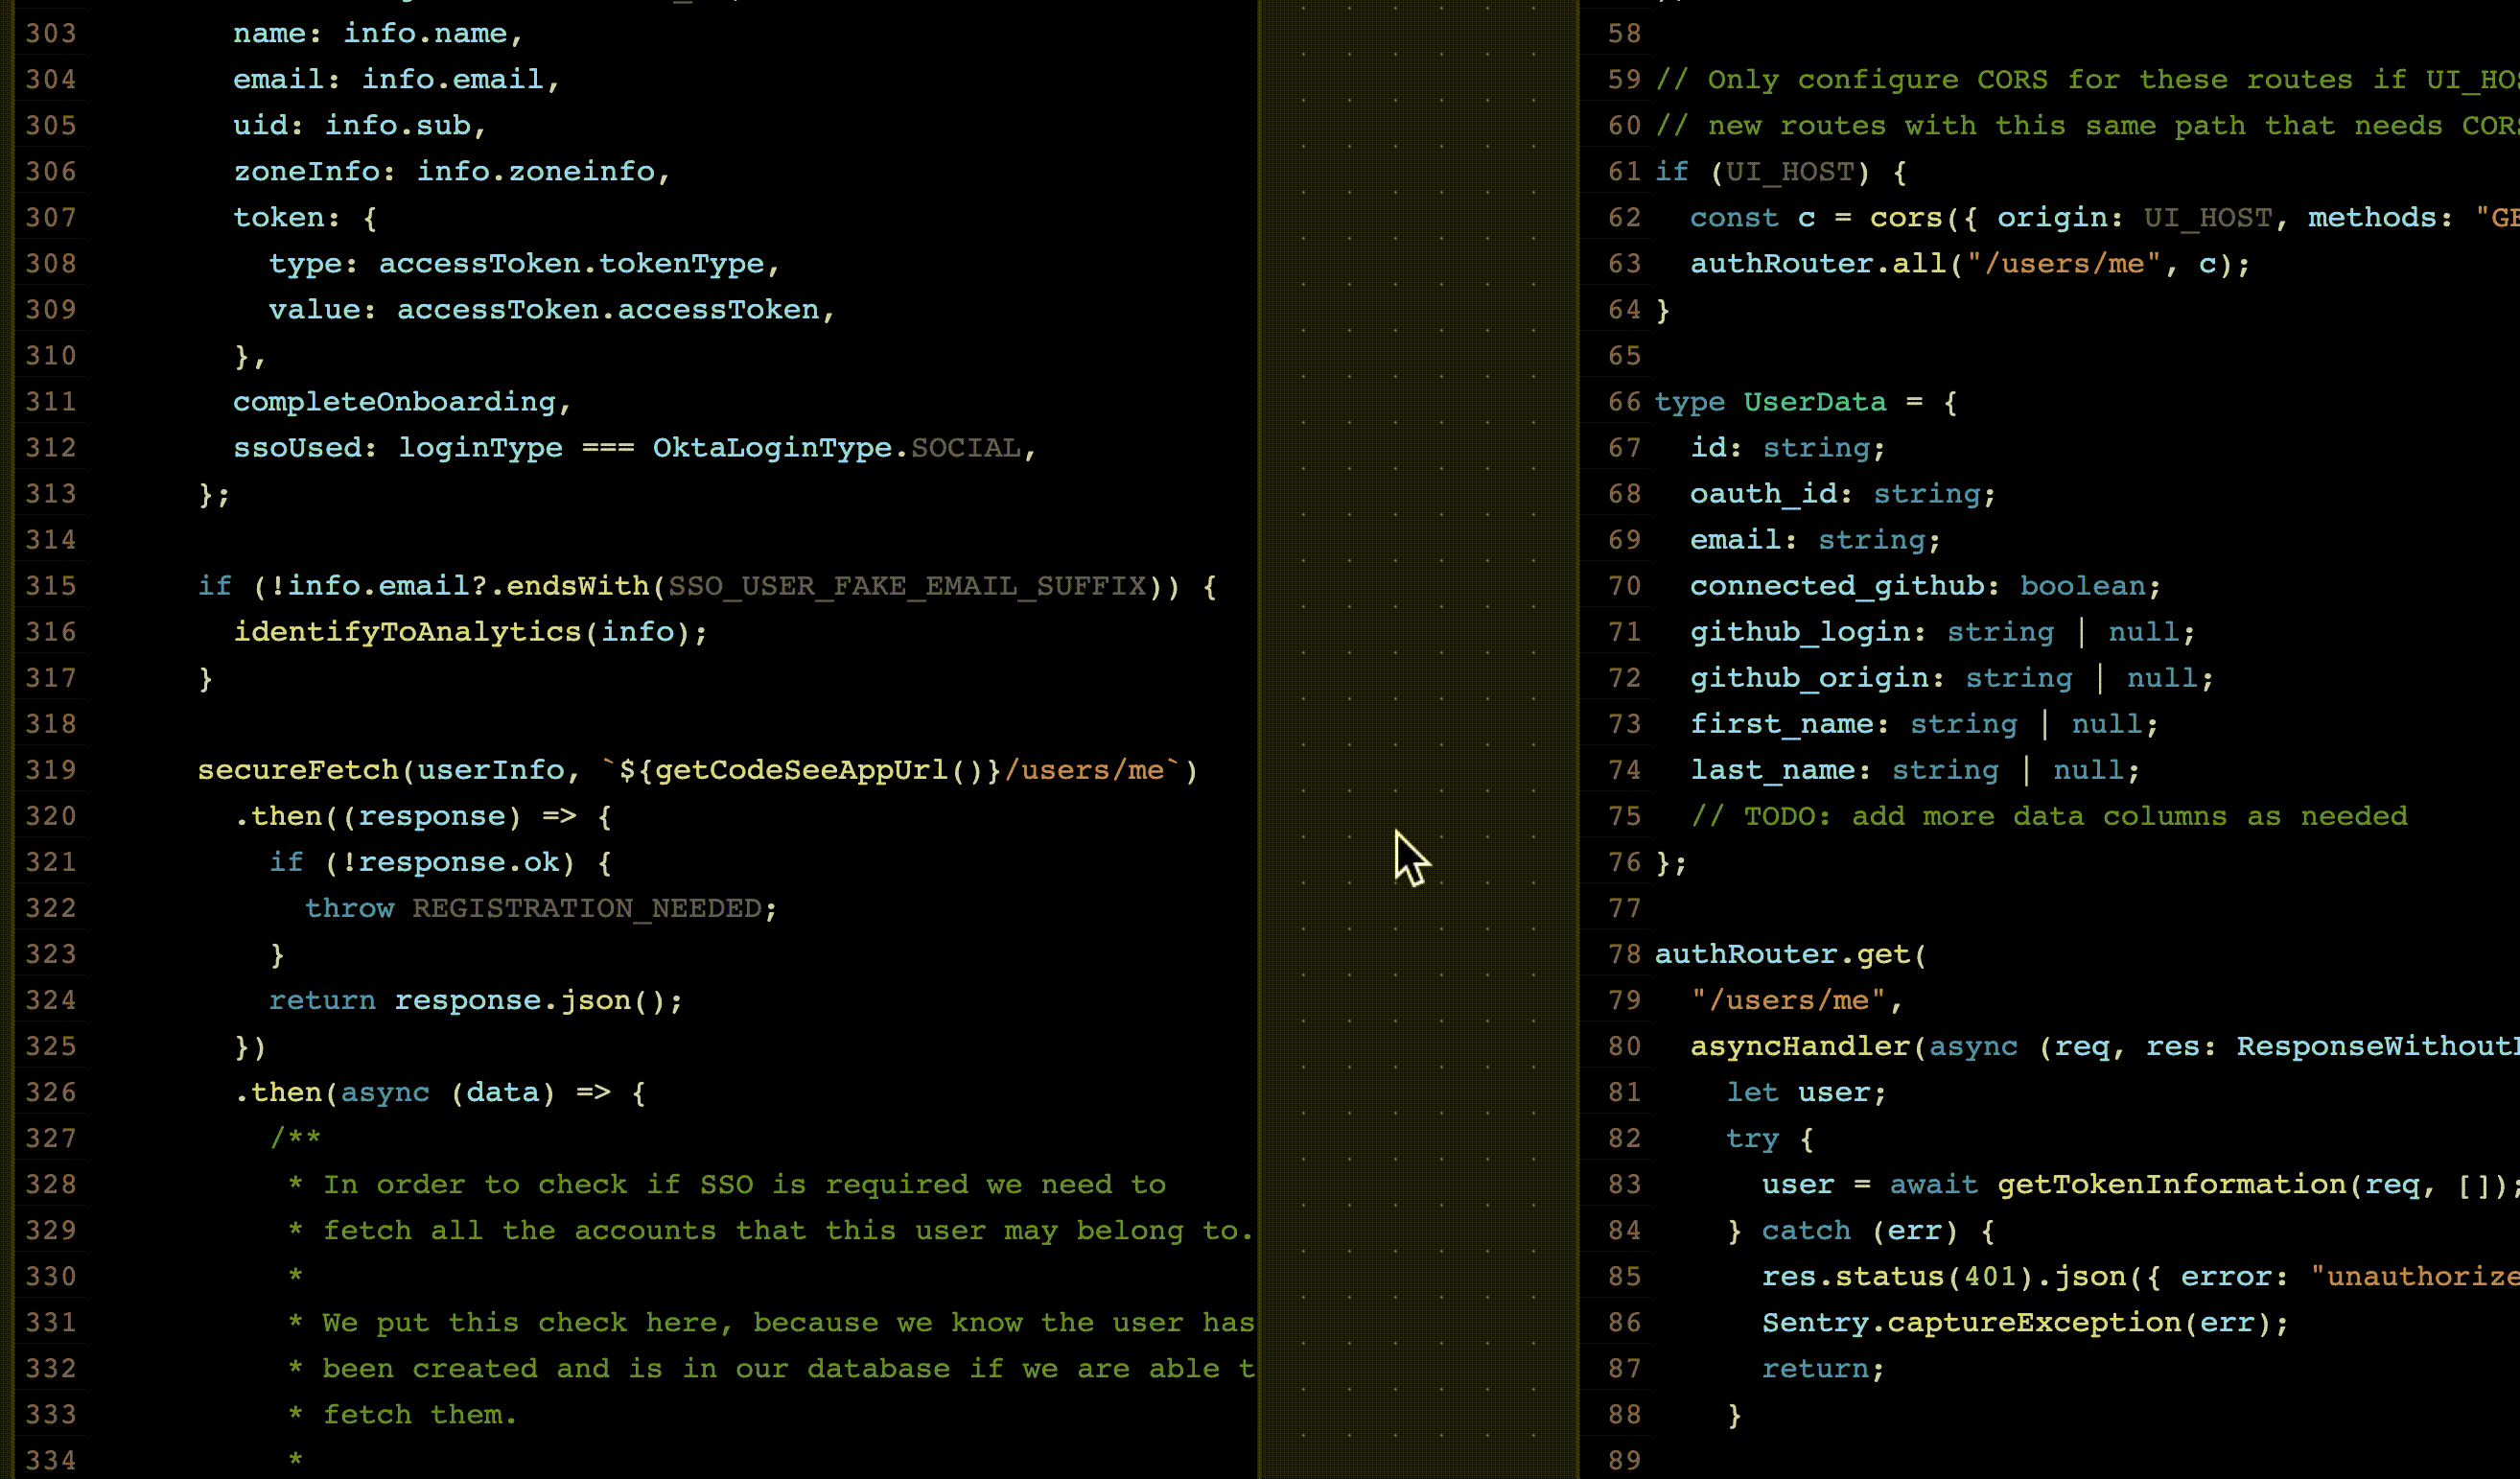
Often, when understanding code, we need to jump to other code that's related in one way or another. You can use the "Add related" link to see and add to the map related code, such as:
- Other classes in the same class hierarchy
- Overrides of the same class method
- Other code in the same file
- Code from files in the same folder
"Add related" can be used with any code, and the class hierarchy will appear when the code is related to a class.
From the Map: Follow a variable
You can click on any local variable and all uses of that variable will highlight.
From the Map: Change the scope of a node
You can increase the scope of a node (then decrease it back if you want).
- If you’re looking at a method and want to see the whole class
- If you’re looking at a function and want to see the other functions in the same file
- If you’re looking at a useEffect callback and want to see the whole React component
Click the {f} dropdown in the upper-left corner of the node, and select the new scope.
From the Map: Draw a custom line
You can draw a custom line between code in two different nodes. Great for making connections between frontend/backend or between services!
- Right click on the code where you want the line to start, and select “draw custom link”
- Click on the code where you want the line to end
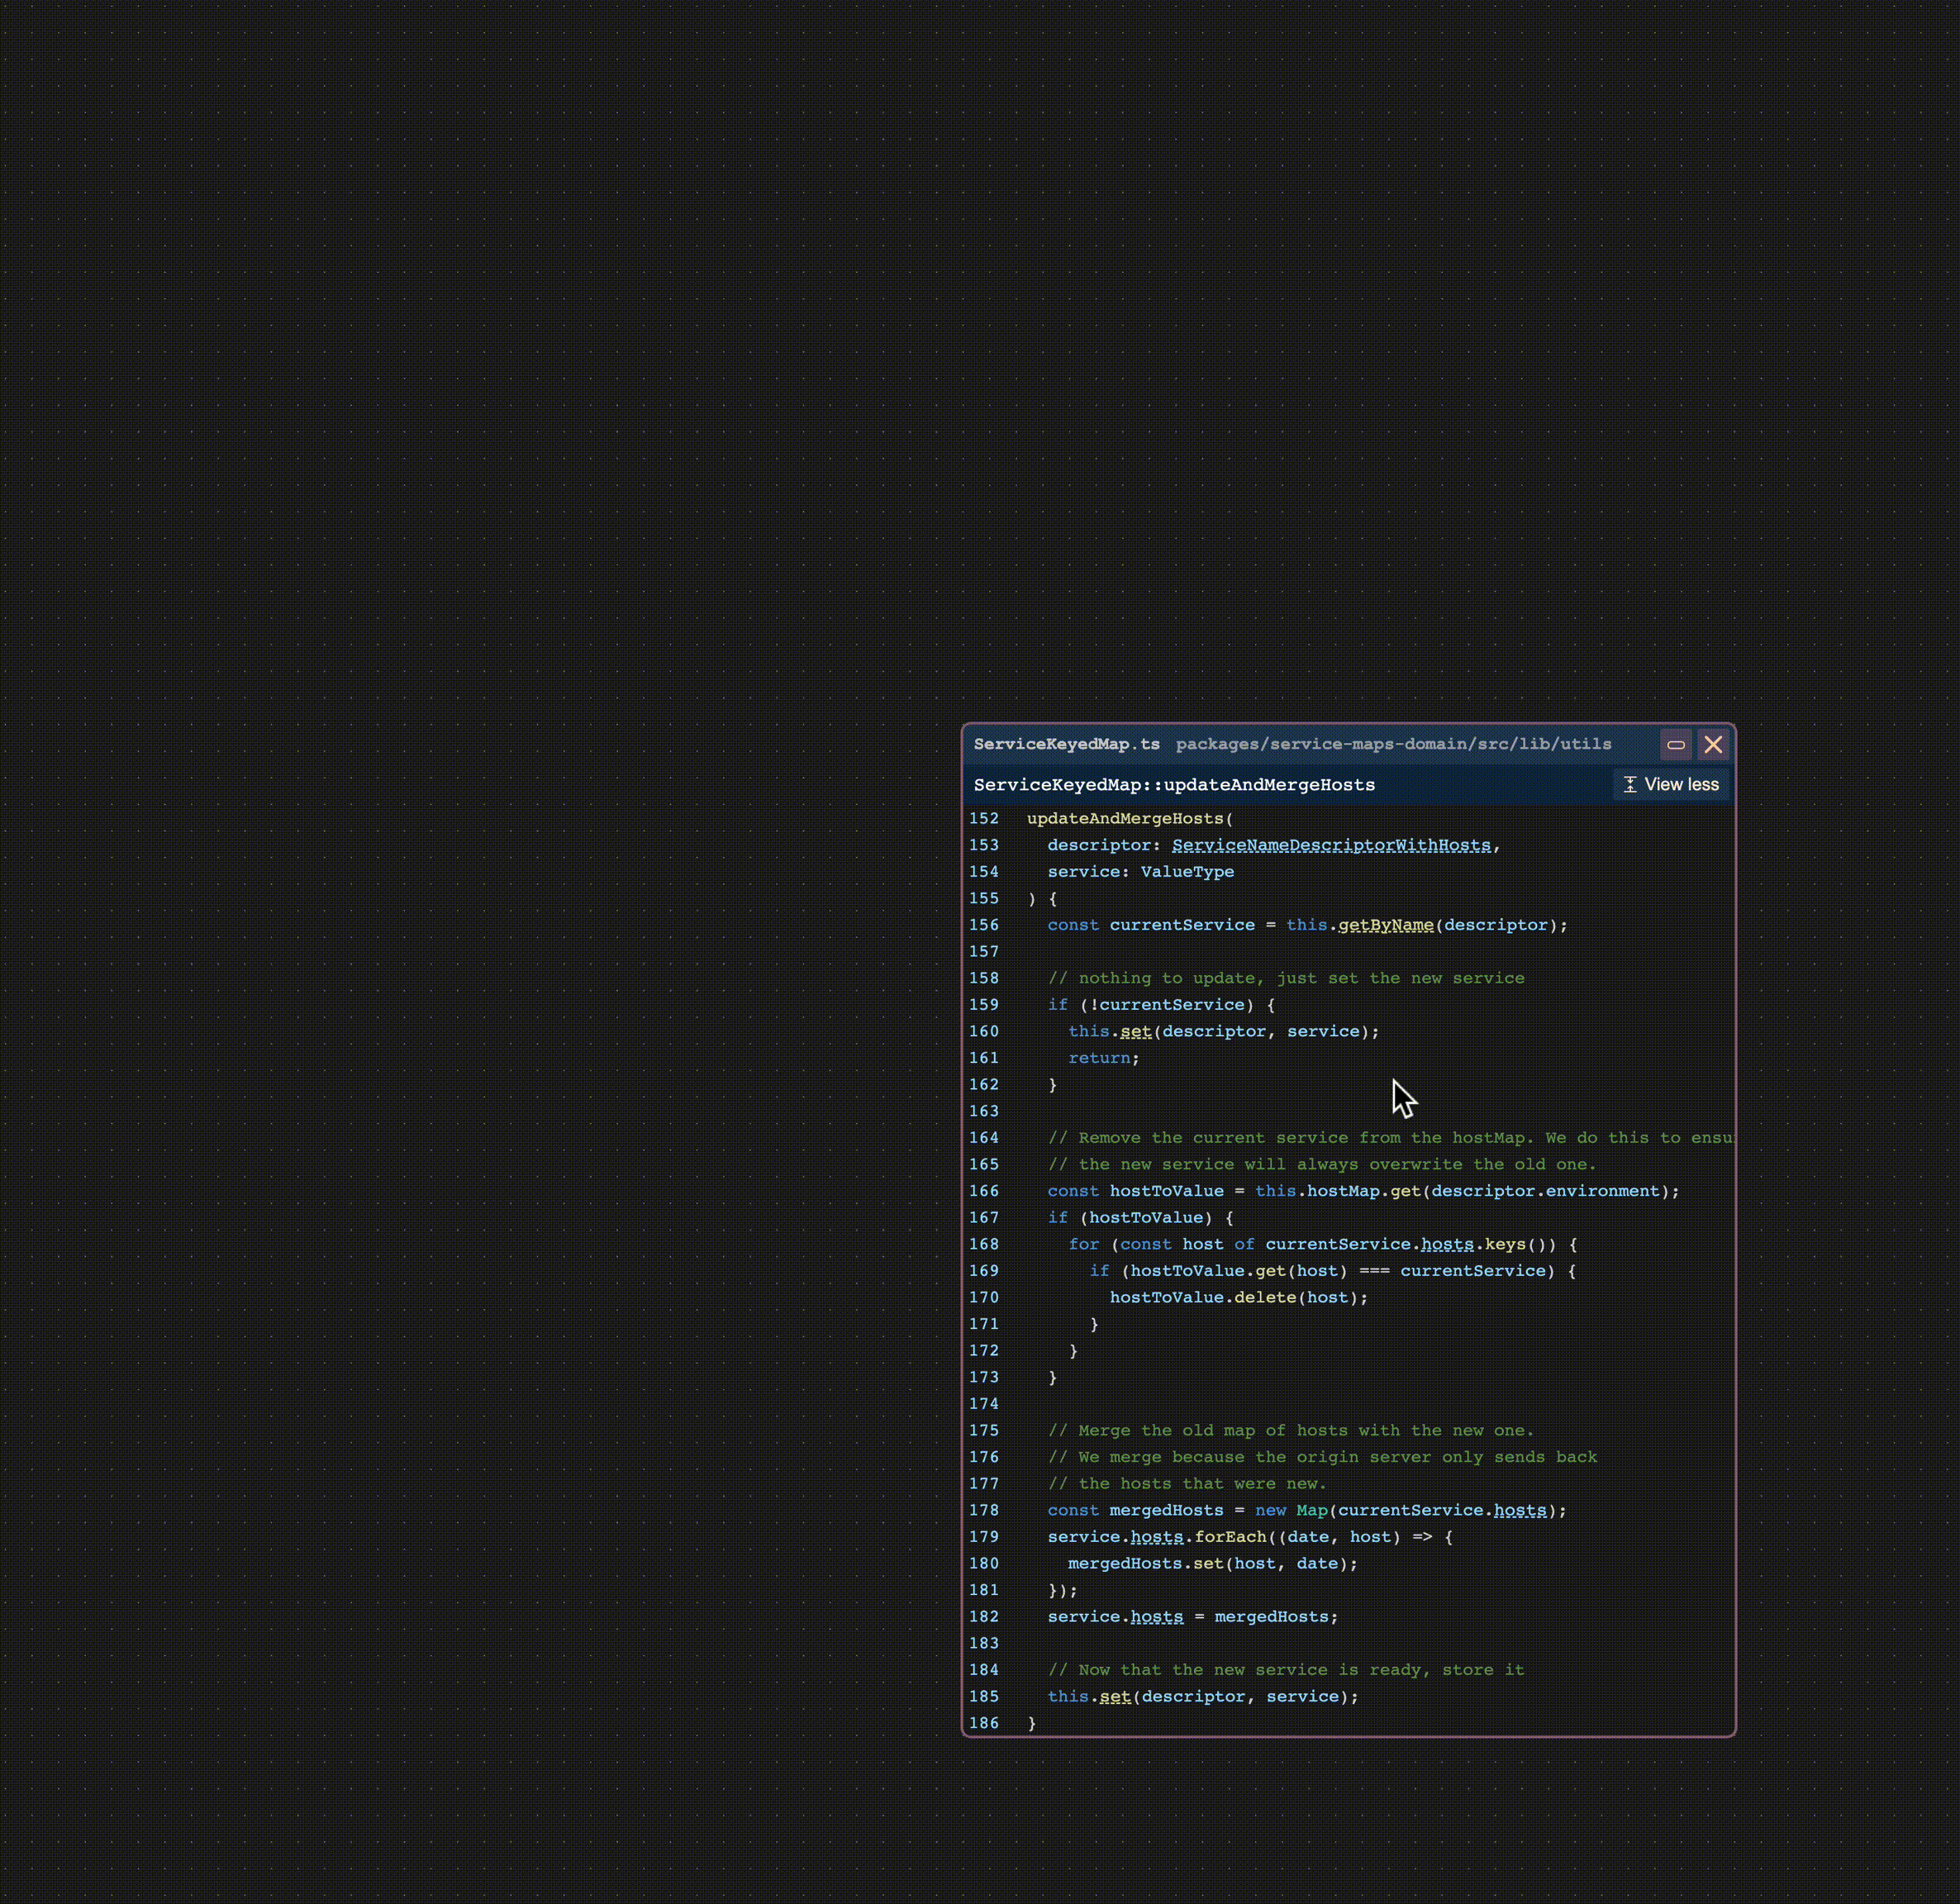
From the Map: Changing the size of nodes
You can change the width of a node by dragging its left or right edge.
You can change the height of a node in a few ways:
- Click the "View More" / "View Less" button to hide / show any lines of code not near a link
- Click the Collapse button to collapse the node to just the name of the function or type
From the Map: Align nodes
You can multi-select nodes by click-and-dragging a selection region, or cmd/ctrl clicking each node.
Two alignment buttons will appear at the top of the map: "align horizontal" and "align vertical".

From the Map: Jump back into your editor
You can right-click on any code in the Map and select “Open file” to jump to that code in your editor.
Or, you can click the button of a square with an arrow.
Updated about 1 year ago